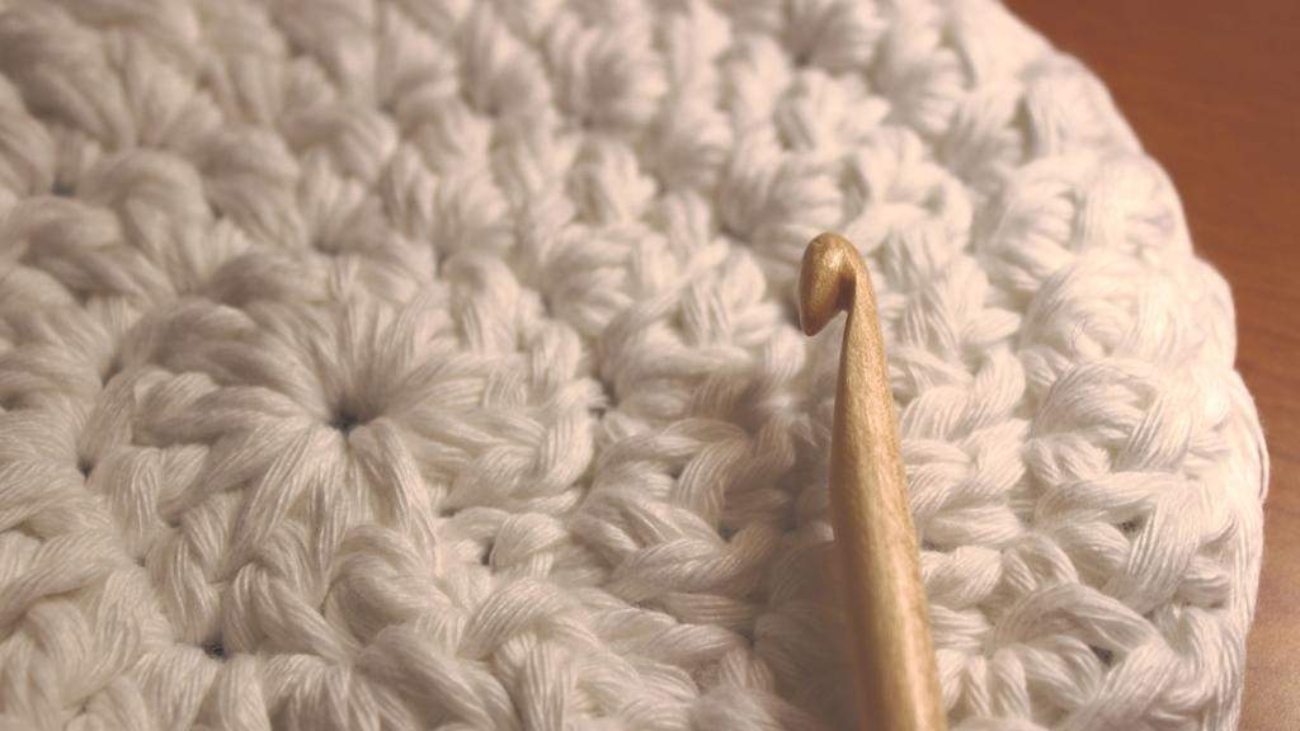
Row 1 : Magic Circle 6 sc , sl st , ch 1 (6 sc )
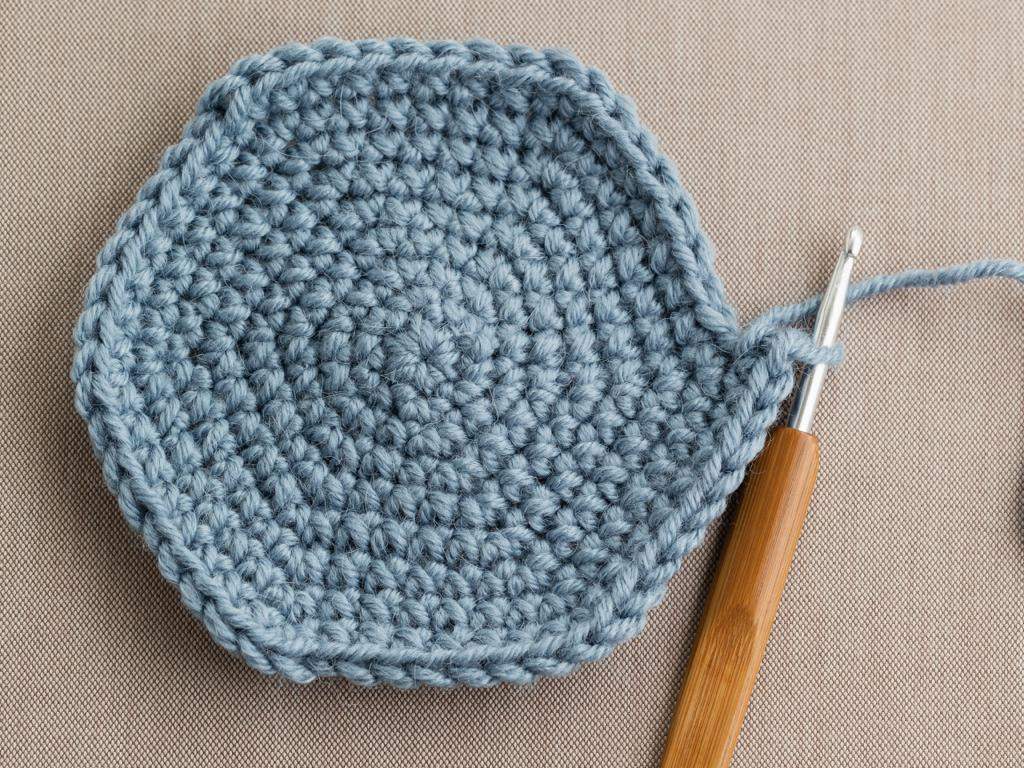
Row 2 : 2 Sc in each st , sl st , ch 1 ( 12 sc ) end in inc
Row 3 : (1 sc in next st and inc in next )repeat 6 ,sl st ,ch 1(18 sc ) end in inc
Row 4 : (1 sc in 2 st , inc in 3rd st ) repeat 6 , sl st , ch1 (24 sc) end in inc
Row 5 : ( 1 sc in 3 st , inc in 4th st ) repeat 6 , sl st , ch 1 ( 30 sc ) end in inc
Row 6 : ( 1 sc in 4 st , inc in 5th st ) repeat 6 , sl st , ch 1 ( 36 sc ) end in inc
Row 7 : ( 1 sc in 5 st , inc in 6th st ) repeat 6 , sl st , ch1 (42 sc ) end in inc
Row 8 -16 1 sc in every st ( 42 sc )
Row 17 ( 1 sc in 5 st , dec in 6 th st ) repeat 6 , sl st ch1 (36 sc ) end in dec
Row 18 ( 1 sc in 4 st , dec in 5th st ) repeat 6 , sl st ch 1 (30 sc) end in dec
Row 19 ( 1 sc in 3 st , dec in 4th st ) repeat 6 , sl st ch 1 (24 sc) end in dec
Row 20 1 sc in each st , sl st , ch 1 (24 sc)
Row 21 (1 sc in 3st , inc in 4th st ) repeat 6 , sl st , ch1 (30 sc) end in inc
Row 22 ( 1 sc in 4 st , inc in 5th st ) repeat 6 ,sl st , ch1 ( 36 sc ) end in inc
Row 23 ( 1 sc in 5 st , inc in 6th st ) repeat 6 , sl st , ch 1 ( 42 sc ) end in inc
Row 24 ( 1 sc in 6 st , inc in 7th st ) repeat 6 , sl st , ch 1 ( 48 sc ) end in inc
Row 25 ( 1 sc in 7 st , inc in 8th st ) repeat 6 , sl st , ch 1 ( 54 sc ) end in inc
Row 26 1 sc in every st ( 54 sc )
Row 25 ( 1 sc in 8 st , dec in 9 th st ) repeat 5 , 2 sc in next dec in next st , sl st , ch 1 ( 48sc )
Row 25 ( 1 sc in 7 st , inc in 8th st ) repeat 6 , sl st , ch 1 ( 54 sc ) end in inc